
Are you noticing cracks in your slab foundation? Understanding common causes and repair options is crucial for maintaining your home’s structural integrity. This guide covers everything from evaluating crack severity to choosing the right materials, with DIY approaches and professional tips. Learn about non-invasive methods and traditional techniques, plus preventative measures to ensure long-term stability. Discover how to tackle crack repairs effectively, keeping your foundation strong and sound.
Understanding Slab Foundation Cracks: Common Causes and Types
Understanding Slab Foundation Cracks: Common Causes and Types
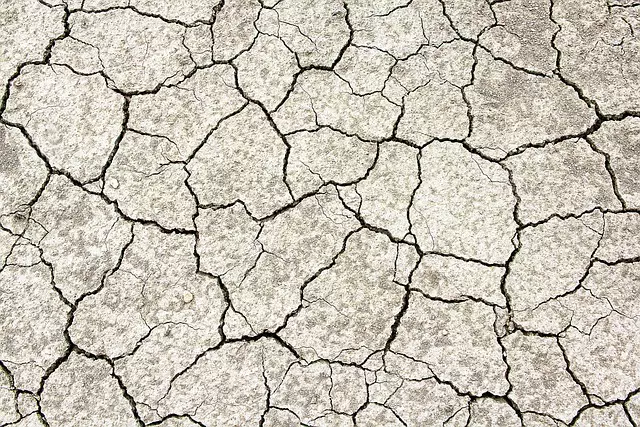
Slab foundation cracks can range from hairline fissures to large, angular breaks. They are a common concern in homes built on concrete slabs, which serve as the structural base for the entire structure. The most frequent causes include ground settlement, soil movement due to earthquakes or other geological events, and excessive moisture that weakens the concrete. Another less acknowledged cause is thermal expansion, where fluctuations in temperature lead to the contraction and expansion of the slab, resulting in cracks over time.
Different types of cracks can manifest depending on the underlying issue. Vertical cracks, for instance, often point to issues with soil stability or uneven settling, while diagonal cracks might indicate tensile stress caused by moisture intrusion or structural weaknesses. Identifying the specific type of crack is crucial for effective crack repair, as each type may require different approaches and materials to ensure long-term stability and safety.
Evaluating the Severity of Crack Repair Needs

Non-Invasive Methods for Crack Repairs: An Overview

Traditional Concrete Repair Techniques for Slabs

Traditional Concrete Repair Techniques for Slabs
When cracks appear in concrete slabs, addressing them promptly is crucial to prevent further damage and maintain structural integrity. One of the most common methods for crack repair involves using epoxy injections. This technique effectively fills small to medium-sized cracks, enhancing the overall strength and longevity of the slab. The process starts by cleaning the crack to ensure optimal adhesion, followed by mixing and injecting a two-part epoxy compound. For wider or deeper cracks, structural steel or mesh reinforcement might be incorporated before filling with concrete or a polymer-modified mortar.
Another traditional approach is the use of carbon fiber sheets or mesh, which are placed over the cracked area and bonded with an adhesive. This method offers superior strength and flexibility compared to traditional concrete repairs. Additionally, self-leveling cement or polyurethane foam can be used to fill smaller gaps and level uneven surfaces, providing a smooth base for future coatings or finishes.
Choosing the Right Materials for Slab Foundation Repair

When repairing a slab foundation, selecting the appropriate materials is key. The choice should be based on several factors: the extent of the crack repair needed, the climate you live in, and the structural requirements of your home. For instance, epoxy injections are ideal for small cracks as they create a strong bond that prevents further movement. On the other hand, concrete patching compounds work well for larger gaps because they can fill in and support the weight of the slab. Always consult with a professional to determine the best solution for your specific situation.
Step-by-Step Guide to Crack Repair: A DIY Approach (or Hiring Professionals)

Crack repair is a crucial step in maintaining a slab foundation. Here’s a step-by-step guide to help you tackle this DIY project or understand when to hire professionals.
1. Identify the Type of Crack: Begin by examining the crack and determining its nature—hairline, diagonal, vertical, or horizontal. Different types may require distinct repair methods.
2. Clean the Crack: Use a wire brush or chisel to remove any loose debris or dirt from the crack’s surface. Ensure it’s clean and dry before proceeding.
3. Apply a Primer (if necessary): For wider cracks, consider using a concrete crack repair primer to improve adhesion of the filler material. Follow the manufacturer’s instructions for application.
4. Fill the Crack: Choose an appropriate epoxy or concrete filler based on crack width and severity. Inject the filler into the crack using a syringe or trowel, filling it completely.
5. Smooth the Surface: Once filled, use a trowel or jointing tool to smooth the repaired area, matching it as closely as possible to the surrounding concrete.
6. Cure and Seal (if applicable): Allow the filler to cure fully according to the manufacturer’s instructions. Some products may require sealing for added protection against moisture and further damage.
Preventative Measures and Long-Term Maintenance Tips for Slab Foundations
